
Tip & Trick
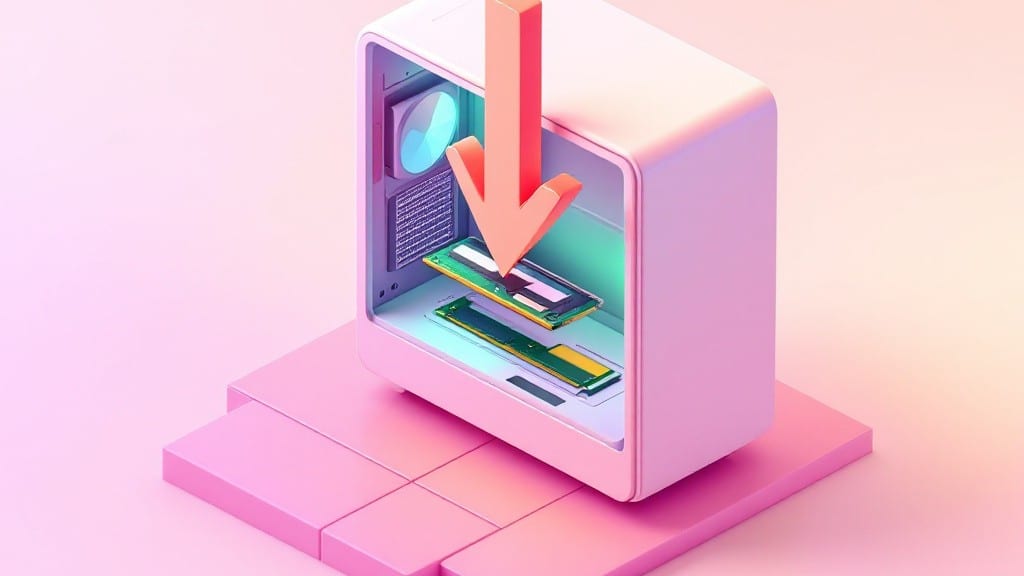
Installing RAM in a desktop PC isn’t as scary as it looks—especially when you do it tool-free. I’ve upgraded dozens of systems over the years, and the process takes about five minutes once you know the trick with the retention clips.
The key is patience and making sure those notches align perfectly.
You’ll need your new RAM sticks (check for DDR4 or DDR5 compatibility with your motherboard), a Phillips screwdriver for the case, and—this is crucial—a way to ground yourself to avoid static damage. My dad always said, "A grounded technician is a happy technician," and he wasn’t wrong.
The only other tool you might need is a can of compressed air if your slots have dust buildup.
Once the RAM is seated properly, your system should recognize it immediately during boot. If it doesn’t, double-check the BIOS settings or reseat the sticks—sometimes a bent pin or misaligned notch can cause issues.
I’ve seen beginners force the RAM in, which can damage both the stick and the slot, so let the clips do the work.
After installation, run a stress test like MemTest86 to confirm everything’s working. This step saved me from a headache once when a faulty stick caused random crashes. If your PC boots up smoothly and the BIOS shows the correct RAM capacity, you’re all set—no need for fancy software or drivers.
Now you’ve got the memory boost you need for gaming, video editing, or just keeping up with modern software.
📚 In This Guide
- What you need
- Instructions
- Tips and common mistakes
- Wrapping up and next steps
What you need
- ● RAM module(s): Compatible with your motherboard (check specs for type—DDR4, DDR5—and capacity, e.g., 8GB, 16GB).
- ○ Anti-static wrist strap (optional but recommended): Prevents static damage to components (ground it to a metal part of your case).
- ● Phillips-head screwdriver (small, magnetic tip preferred): For securing RAM or case panels.
- ● Flashlight or headlamp: Illuminates tight spaces for better visibility.
- ○ Compressed air (optional): Clears dust from RAM slots or case fans.
- ○ Isopropyl alcohol wipes (optional): For cleaning contacts on RAM or motherboard slots.
- ● Powered-off PC: Unplug the power cable and press the power button to discharge residual energy.
- ● Grounded workspace: Touch the metal case frequently to avoid static buildup.
- ● Motherboard manual: Reference your motherboard’s RAM slot layout and capacity limits.
Step-by-Step instructions for installing RAM in a desktop PC
Here's how to safely upgrade your system's memory without tools or technical stress.
Power Down and Prepare Your Workspace
Shut down your computer completely and unplug the power cable from the back of the tower. I always hold the power button for 5-10 seconds after unplugging to discharge any residual energy in the motherboard components. This prevents static damage to sensitive memory modules.
Work on a clean, flat surface with good lighting. Remove the side panel of your case by unscrewing the 2-4 thumbscrews holding it in place. If your case uses a sliding design, simply slide the panel off. Keep track of the screws—misplacing them can lead to frustration later.
Locate and Remove Existing RAM (If Needed)
Open your case and identify the RAM slots on the motherboard. They're typically long, rectangular slots near the CPU, often labeled DIMM1, DIMM2, or similar. If you're adding to existing RAM, note the current modules' positions—matching the configuration (like dual-channel pairing) improves performance.
To remove existing RAM, press firmly on both ends of the module until you hear a click. The module will pop up slightly—lift it straight out of the slot. Don't force it; if it resists, you might have it in the wrong orientation. Store removed modules in an anti-static bag or the case to prevent damage.
Align and Insert the New RAM Module
Take your new RAM module and align it with an empty slot, ensuring the notch on the bottom of the module matches the tab on the slot. The notch prevents you from inserting it backward, which can damage both the module and the motherboard.
Press firmly down on both ends of the module at the same time until you hear a click and feel it lock into place. You'll know it's seated correctly when the locking tabs on the sides snap into position. If it doesn't click, remove it and try again—misaligned RAM is the most common cause of boot failures.
Reassemble and Power On
Replace the side panel of your case, securing it with the screws you removed earlier. Plug the power cable back into the tower and turn it on. You should hear the system POST (Power-On Self-Test) beep normally—if not, power off immediately and reseat the RAM module.
Enter your BIOS or UEFI setup (usually by pressing Delete, F2, or F12 during boot) to verify the new RAM is detected. Look for the memory capacity and speed listed under system information. If the system doesn't recognize the RAM, restart and try a different slot—some motherboards have specific slots for optimal performance.
Verify Performance in Windows
Once in Windows, open Task Manager by pressing Ctrl + Shift + Esc. Go to the Performance tab and select Memory from the left panel. You should see the updated total installed RAM reflected here. If the number doesn't match your new module's capacity, restart and check the BIOS again.
Run a quick memory test using Windows Memory Diagnostic (search for it in the Start menu). Let it complete a full pass—if it reports errors, power down and reseat the RAM module. Most issues stem from improper seating, so don't worry if this happens; it's an easy fix.
Tips & tricks for installing RAM without tools
Here's what I wish I'd known before my first RAM upgrade—these details make all the difference between success and frustration.
Static Protection: I learned this the hard way after ruining a $120 module. Ground yourself by touching an unpainted metal part of your case before handling RAM. Better yet, work on a carpeted surface—static builds up less on fabric. Even better, wear a wrist strap if you have one, but if not, just touching the case repeatedly works fine. The goal is to prevent that tiny static shock that can fry sensitive components.
Notch Alignment: That little notch on your RAM module isn't just for looks—it's your friend. In Step 3, when aligning your new module, make sure the notch on the bottom perfectly matches the tab in the slot. If it doesn't line up, you're trying to force it backward, which can bend the contacts and damage both the RAM and motherboard. I've seen people try to wiggle it into place, but there's no wiggle room—it's either a perfect match or nothing.
Dual-Channel Pairing: If you're adding two identical RAM modules, pay attention to the slot labels in Step 2. Most motherboards have color-coded slots for dual-channel configuration—usually slots 1 and 3 or 2 and 4. Installing them in the wrong slots won't damage your system, but you won't get the performance boost from dual-channel mode. Check your motherboard manual if you're unsure which slots to use.
Post-Installation Check: After you hear that satisfying click in Step 4, don't just assume it's working. In Step 5, when you run Windows Memory Diagnostic, pay attention to the error codes if any appear. Code 2000 usually means a seating issue, while code 2400 often indicates a timing problem. Most issues are solved by simply reseating the RAM—it's the most common fix for what seems like a hardware failure.
Pro Tips for Install Ram In A Desktop Pc
- Here's what I wish I'd known before my first RAM upgrade—these details make all the difference between success and frustration.
- Static Protection: I learned this the hard way after ruining a $120 module.
- Notch Alignment: That little notch on your RAM module isn't just for looks—it's your friend.
Frequently asked questions
Got questions about installing RAM? You’re not alone! Here are answers to the most common concerns—whether you’re nervous about compatibility, worried about damaging components, or just want to know the best way to handle the process. Let’s clear up the confusion so you can upgrade with confidence.
Do I need to turn off my PC to install RAM?
Always power down your PC and unplug it before opening the case. Static electricity or accidental shorts can fry your RAM (or worse, your motherboard). Wait 10–15 minutes after shutdown to let capacitors discharge safely. Pro tip: Ground yourself by touching the case or a metal part before handling components—it’s a simple habit that prevents static shocks!
Can I mix RAM kits with different speeds or brands?
Technically yes, but it’s risky. Your PC will default to the slowest speed of the pair (e.g., mixing 3200MHz and 2666MHz RAM means you’ll use 2666MHz). For best performance, stick to identical kits (same brand, speed, and capacity). If you must mix, ensure they’re compatible with your motherboard’s QVL (Qualified Vendor List)—check your mobo manual or manufacturer’s website.
How do I know if my RAM slots are properly seated?
Easy! Look for the small clips on the sides of the RAM slots—they should snap securely into place when you press down on the RAM stick. If it feels loose or wobbly, reseat it firmly. You’ll also hear a click when it locks in. Never force it—if it won’t snap, check for dust or bent contacts (gently bend them back with tweezers if needed).
What if my PC won’t boot after installing RAM?
Don’t panic! Start with these fixes:
- Reseat the RAM: Power off, open the case, and firmly push the sticks back into their slots.
- Check one stick at a time: Test each RAM module individually to rule out defects.
- Reset BIOS: Unplug the PC, remove the CMOS battery for 5 minutes, then reinsert it.
- Test with minimal hardware: Disconnect extra drives or GPUs to isolate the issue.
Do I need special tools to install RAM?
Nope! RAM installation is tool-free—just your fingers (clean and dry) and patience. However, a tweezers set can help if you’re dealing with stubborn dust or bent pins. Avoid using excessive force; RAM slots are designed to click into place without brute strength. If your case is cramped, consider removing the side panel for easier access.
Wrapping up and next steps
You’ve just taken a huge step toward boosting your PC’s performance—without even needing a screwdriver! 🎉 Installing RAM is simpler than it seems, and now you’ve got the confidence to tackle it like a pro.
Whether you’re upgrading for gaming, multitasking, or future-proofing, your system is ready for the next level.
Now that you’re RAM-savvy, what’s next? Consider exploring:
- How to check if your new RAM is detected (spoiler: it probably is!)
- Optimizing Windows for peak performance after your upgrade.